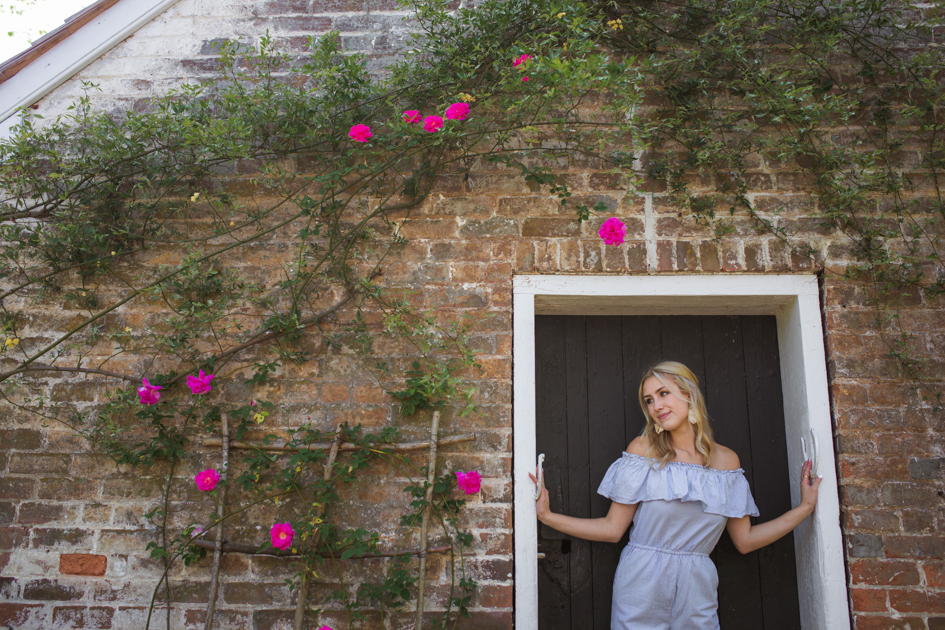
Let’s Talk Beauty: Hair, Makeup & Nails for Your Senior Session
When you’re planning your senior photos, you’ve probably already thought about what to wear—but don’t forget about the finishing touches: hair, makeup, and nails! These little details can totally pull your look together and help you feel confident and camera-ready.
Here’s the thing: you’ve got options. You can totally book a pro—or you can rock it DIY style. I’m here to say: you don’t need a professional makeup artist to look and feel amazing in your photos. In fact, many of my seniors choose to do their own makeup—and they absolutely shine.
Whether you’re a makeup minimalist or you love getting glam, the key is feeling like you. So let’s break it down.
Pros of Doing Your Own Makeup
Yes, professionals have great skills (and great products!), but there are also huge upsides to doing your own makeup:
- You know your face best. You’ve practiced your go-to look and you know what feels natural for you.
- You’ll feel more like yourself. No surprises when you’re behind the camera—just the best version of your everyday beauty.
- It’s empowering. Doing your own makeup gives you creative control, and who doesn’t love that?
- You can use products your skin already loves. No guessing about how your skin will react to something new.
- You save money. Which means you can splurge on that extra outfit, a print package, or a post-session treat.
All that said, if you love getting pampered or just want to skip the stress, pros can be a great choice too. Totally your call!
DIY Makeup Tips for Camera-Ready Confidence
If you’re going the DIY route (go you!), here are a few tips to make sure your makeup photographs beautifully:
- Go a little bolder than your everyday look—especially with eyes and lips. The camera softens things!
- Avoid SPF & mineral makeup. It can cause shine or reflect light in weird ways on camera.
- Less is more when it comes to heavy foundation. Skip the cake—go for glow.
- Set with translucent powder. It helps reduce shine and keeps everything in place.
- Lip color matters. Even if you’re not a lipstick wearer, try a tinted balm or shade close to your natural lip color.
- Mascara is a must. Clean, defined lashes make your eyes pop.
- Stick to matte finishes. Shimmer can reflect oddly in photos—matte gives that polished, soft look.
- Ditch heavy black eyeliner. Go for brown or gray and blend it out—it’s softer and more flattering.
- Do a test run! Try your look at least a week before and have someone snap a few outdoor photos. That way, you can adjust if needed.
Hair Tips That Work With You
- Don’t try anything totally new. Keep the drama in your photos, not on your head!
- Touch up your trim or color about a week or two before your session.
- Natural is beautiful. A little wave or curl adds volume, but stick with styles you love and know how to manage.
- Tame flyaways with a bit of hairspray—just don’t overdo the sticky stuff!
- Frizz-prone? Prep with smoothing products ahead of your session.
Nail It!
- Neat nails matter. Clean, trimmed nails look great in close-up shots.
- Pick a polish that goes with everything. Soft pinks, neutrals, or even clear are always safe bets.
- Avoid chips! If you’re painting your nails, do it the night before (or same day) to keep them looking fresh.
- Don’t forget your toes if sandals or barefoot shots are in the mix!
Your Final Glow-Up Checklist
If you’re doing your own hair and makeup, try everything before the big day. Seriously—do a practice run. Snap a few close-up pics outside (both in shade and sun), and check how everything looks on camera. Then make any changes, fine-tune your routine, and show up to your session ready to shine!
No matter how you prep, remember this: confidence is your best accessory. Whether you’re dolled up or rocking your natural glow, your joy, your personality, and your story will be what we remember most.
Need help or have questions? Want to book your session? Just say the word—I’m here for it (and for you!). 💛

Be the first to comment